

Hey there, car enthusiasts! If you've ever sat in your car and noticed that annoying rattling sound coming from the dashboard, chances are you've got a loose dashboard trim. It's one of those little things that can really bug you while you're driving. But don't worry, I'm here to help you fix it. And as a supplier of interior parts for cars, I've seen my fair share of these issues and know exactly how to tackle them.
What Causes a Loose Dashboard Trim?
Before we jump into the fixing process, let's talk about what might be causing that trim to come loose in the first place. There are a few common reasons. First off, age and wear are big factors. Over time, the clips and adhesives that hold the trim in place can break down, especially if you live in an area with extreme temperatures. Heat can cause the plastic to expand and contract, weakening the connections.
Another culprit could be rough driving. Bumps and potholes can jolt the car and loosen the trim. And if you've ever had someone rummaging around in the dashboard area, like trying to fix a radio or something, they might have accidentally knocked the trim loose.

Tools You'll Need
Now that we know what might be causing the problem, let's gather the tools you'll need to fix it. You won't need a whole bunch of fancy stuff. Here's a basic list:
- A set of trim removal tools. You can find these at any auto parts store. They're usually made of plastic and come in different shapes and sizes to help you get under the trim without scratching it.
- Some new clips. If the old ones are broken, you'll need to replace them. You can buy a pack of generic clips that fit most cars at the auto parts store.
- Adhesive. If the trim was held in place with glue, you'll need some automotive-grade adhesive to reattach it. Make sure it's designed for use on plastic and won't damage the dashboard.
- A clean cloth. You'll want to clean the area before you start working to make sure the new clips or adhesive stick properly.
Step-by-Step Fixing Process
Step 1: Identify the Loose Trim
The first thing you need to do is figure out exactly which part of the dashboard trim is loose. Sometimes it's obvious because it'll be rattling or you can see that it's not sitting flush against the dashboard. Other times, you might have to tap on different parts of the trim to see which one makes the rattling sound.
Step 2: Remove the Trim
Once you've identified the loose trim, it's time to remove it. This is where those trim removal tools come in handy. Start by inserting the tool under the edge of the trim and gently pry it up. Be careful not to use too much force, or you could break the trim or scratch the dashboard. Work your way around the trim, using the tool to release the clips one by one.
If the trim is held in place with adhesive, you'll need to be a bit more careful. You might have to use a heat gun on a low setting to soften the glue. Just make sure you don't overheat the plastic, or it could warp. Once the glue is soft, you should be able to gently peel the trim off.
Step 3: Inspect the Clips and Adhesive
Now that you've removed the trim, take a look at the clips and the adhesive. If the clips are broken, you'll need to replace them. Just match the size and shape of the old clips with the new ones you bought. If the adhesive is worn out, clean off any residue with the clean cloth and some rubbing alcohol.
Step 4: Reattach the Trim
Once you've replaced the clips or cleaned the adhesive area, it's time to put the trim back on. Start by aligning the trim with the dashboard. Make sure it's in the right position and all the holes line up. Then, press the trim firmly onto the dashboard, starting from one end and working your way to the other. If you're using new clips, they should snap into place with a little pressure. If you're using adhesive, apply a thin layer to the back of the trim and press it onto the dashboard. Hold it in place for a few minutes to let the adhesive set.
Tips and Tricks
- Take your time. Rushing through the process can lead to mistakes, like breaking the trim or not getting it properly aligned.
- If you're having trouble getting the clips to snap into place, you can try using a little bit of lubricant, like silicone spray. Just make sure you wipe off any excess before you put the trim back on.
- If the rattling sound persists after you've fixed the trim, there might be something else loose inside the dashboard. You might need to do a more thorough inspection or take your car to a professional.
Our Interior Parts for Your Car
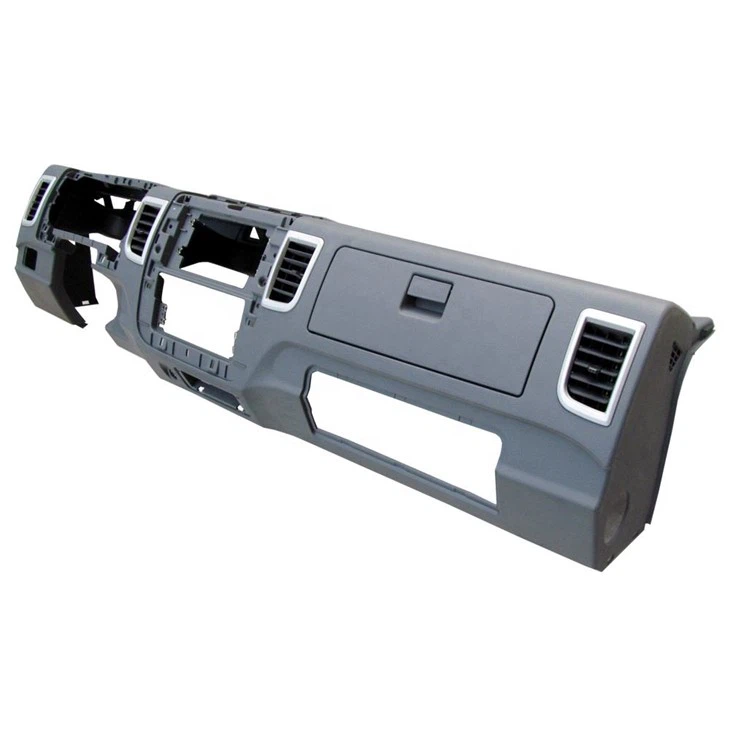
As a supplier of interior parts for cars, we've got a wide range of products that can help you keep your car looking and feeling great. For example, if you're looking for a Bus Upper Interior Panel, we've got high-quality options that are durable and stylish. Our Bus Interior Dashboard is designed to fit perfectly in your vehicle and provide a comfortable driving experience. And if you need a Dash Cover Cap, we've got you covered.
We understand that every car is different, and that's why we offer a variety of options to meet your specific needs. Whether you're looking for a replacement part or something to upgrade the look of your car, we've got the products you need.
Contact Us for Procurement
If you're interested in purchasing any of our interior parts, we'd love to hear from you. We offer competitive prices, high-quality products, and excellent customer service. Just reach out to us, and our team will be happy to assist you with your procurement needs. Whether you're a car enthusiast looking to upgrade your own vehicle or a business in the automotive industry, we can provide you with the parts you need.
References
- "Automotive Interior Repair Guide!" - A comprehensive guidebook on fixing various interior parts of cars.
- Personal experience as a supplier of Interior Part Of The Car.