

Replacing a damaged car door's external part is a task that might seem daunting at first, but with the right guidance and quality parts, it can be accomplished efficiently. As a supplier of Car Parts External, I've witnessed firsthand how a well - executed door replacement can transform the look and functionality of a vehicle. In this blog, I'll walk you through the step - by - step process of replacing a damaged car door's external part.
Step 1: Gather the Necessary Tools and Parts
Before you start the replacement process, it's crucial to have all the tools and parts you need. You'll require basic hand tools such as a socket set, wrenches, a screwdriver set (both flat - head and Phillips), and a panel removal tool. As for the parts, you'll need a new external car door panel that matches your vehicle's make, model, and year. At Car Parts External, we offer a wide range of high - quality external car door panels that are designed to fit various vehicles perfectly.
Step 2: Prepare the Vehicle
Park your car on a flat, stable surface and engage the parking brake. Make sure the engine is turned off, and all electrical systems are deactivated. This will prevent any accidental electrical shocks or short - circuits during the replacement process. You may also want to cover the interior of the car with a protective sheet to avoid any scratches or damage from the tools or the old door panel.
Step 3: Remove the Interior Door Panel
The first step in accessing the external part of the door is to remove the interior door panel. Start by removing any screws or bolts that are holding the panel in place. These are usually located around the edges of the panel, as well as in hidden compartments such as the door handle or armrest. Use the panel removal tool to gently pry the panel away from the door frame. Be careful not to break any of the plastic clips that are holding the panel in place. Once the panel is loose, carefully lift it off the door and set it aside.
Step 4: Disconnect Electrical Components
Many modern car doors have electrical components such as power windows, locks, and speakers. Before you can remove the external part of the door, you'll need to disconnect these components. Locate the electrical connectors behind the interior door panel and carefully unplug them. Make sure to label each connector so that you can easily reconnect them later.
Step 5: Remove the Old External Door Panel
With the interior door panel and electrical components removed, you can now access the old external door panel. Look for the bolts or screws that are holding the panel to the door frame. Use your socket set or wrenches to remove these fasteners. Once all the fasteners are removed, gently pull the old external door panel away from the door frame. Be careful not to damage the door frame or any of the surrounding parts.
Step 6: Inspect the Door Frame
Before installing the new external door panel, take a moment to inspect the door frame for any damage or rust. If you notice any issues, it's important to address them before proceeding. You may need to repair or replace any damaged parts of the door frame to ensure a proper fit for the new panel.
Step 7: Install the New External Door Panel
Carefully align the new external door panel with the door frame. Make sure all the holes and mounting points match up. Insert the bolts or screws and tighten them using your socket set or wrenches. Be careful not to overtighten the fasteners, as this can damage the panel or the door frame.

Step 8: Reconnect Electrical Components
Once the new external door panel is installed, reconnect the electrical components. Refer to the labels you made earlier to ensure that each connector is plugged into the correct location. Test the power windows, locks, and speakers to make sure they are working properly.
Step 9: Reinstall the Interior Door Panel
Place the interior door panel back onto the door frame and align it with the mounting points. Press the panel firmly against the door frame until the plastic clips snap into place. Insert any screws or bolts that were removed earlier and tighten them.
Step 10: Test the Door
After reinstalling the interior door panel, test the door to make sure it opens and closes smoothly. Check the power windows, locks, and speakers again to ensure that they are functioning correctly. If everything is working properly, you've successfully replaced the damaged car door's external part.
Additional Considerations
When replacing a car door's external part, it's important to choose high - quality parts. At Car Parts External, we understand the importance of quality and durability. Our external car door panels are made from premium materials that are designed to withstand the elements and provide long - lasting performance.
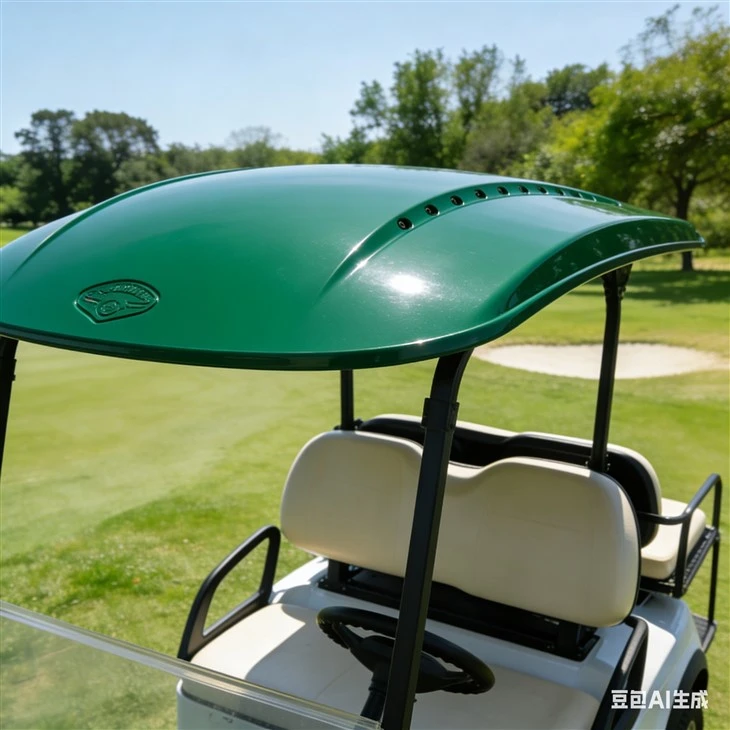
In addition to car door panels, we also offer a wide range of Parts Of Vehicle Exterior, including bumpers, fenders, and Golf Cart Tops. Whether you're looking to repair a damaged vehicle or customize its appearance, we have the parts you need.
Conclusion
Replacing a damaged car door's external part is a challenging but rewarding task. By following these steps and using high - quality parts from Car Parts External, you can save money on expensive dealership repairs and give your car a new look. If you have any questions or need further assistance with your car part replacement, don't hesitate to contact us. We're here to help you find the right parts for your vehicle and ensure a successful replacement process.
If you're interested in purchasing high - quality car parts for your vehicle, we invite you to contact us for a detailed discussion. Our team of experts is ready to assist you in finding the perfect parts for your needs and budget.
References
- "Automotive Body Repair Manual" by the Automotive Service Excellence (ASE)
- "How to Repair Your Car" by Haynes Publishing Group