Replacing a car's side marker lights might seem like a daunting task, but with the right guidance and the appropriate parts, it can be a straightforward DIY project. As a Car Parts External supplier, I've seen firsthand how a simple upgrade or replacement of these external components can enhance both the safety and aesthetics of a vehicle. In this blog, I'll walk you through the step - by - step process of replacing a car's side marker lights.
Why Replace Side Marker Lights?
Before we dive into the replacement process, it's important to understand why you might need to replace your car's side marker lights. Over time, these lights can become damaged due to road debris, minor collisions, or simply wear and tear. A broken or non - functioning side marker light not only reduces your vehicle's visibility to other drivers, especially in low - light conditions or during bad weather, but it can also lead to legal issues in many areas where having all exterior lights in proper working condition is mandatory.
Tools and Materials You'll Need
To successfully replace your car's side marker lights, you'll need the following tools and materials:
- New Side Marker Lights: Make sure to purchase the correct model and size that is compatible with your vehicle. As a Car Parts External supplier, we offer a wide range of high - quality side marker lights for various makes and models.
- Screwdriver Set: Different cars may require different types of screwdrivers, such as Phillips or flat - head. It's a good idea to have a comprehensive set on hand.
- Trim Removal Tools: These are useful for prying off any interior or exterior trim pieces without causing damage.
- Cleaning Cloth: To wipe away any dirt or debris from the area around the marker light.
Step 1: Prepare Your Vehicle
Park your car in a safe and well - lit area. Engage the parking brake and turn off the engine. For added safety, you can also disconnect the negative terminal of the car battery to prevent any electrical shocks during the replacement process.
Step 2: Locate the Side Marker Lights
The side marker lights are typically located on the front and rear fenders of your vehicle. On some cars, they may also be found on the side mirrors. Refer to your vehicle's owner's manual if you're having trouble finding them.
Step 3: Remove the Old Side Marker Lights
- Exterior Trim Removal: If there is any exterior trim covering the side marker light, use your trim removal tools to carefully pry it off. Start at the edges and work your way around, applying gentle pressure to avoid cracking the trim.
- Screws or Clips: Many side marker lights are held in place by screws or clips. Use the appropriate screwdriver to remove the screws, or gently press on the clips to release them.
- Disconnect the Wiring: Once the light is loose, locate the wiring harness connected to the back of the marker light. Press the release tab on the harness and gently pull it away from the light.
Step 4: Install the New Side Marker Lights
- Check the New Lights: Before installation, inspect the new side marker lights to ensure they are in good condition and free of any defects.
- Connect the Wiring: Align the wiring harness of the new light with the connector on the vehicle and push them together until you hear a click, indicating a secure connection.
- Mount the New Light: Place the new side marker light in the same position as the old one and secure it with the screws or clips. Make sure it is firmly in place.
- Replace the Trim: If you removed any exterior trim, carefully put it back in place. Press it down firmly until it snaps into position.
Step 5: Test the New Lights
Reconnect the negative terminal of the car battery. Turn on your vehicle's lights and check to make sure the new side marker lights are working properly. If they don't come on, double - check the wiring connection and make sure the light is installed correctly.

Additional External Car Parts
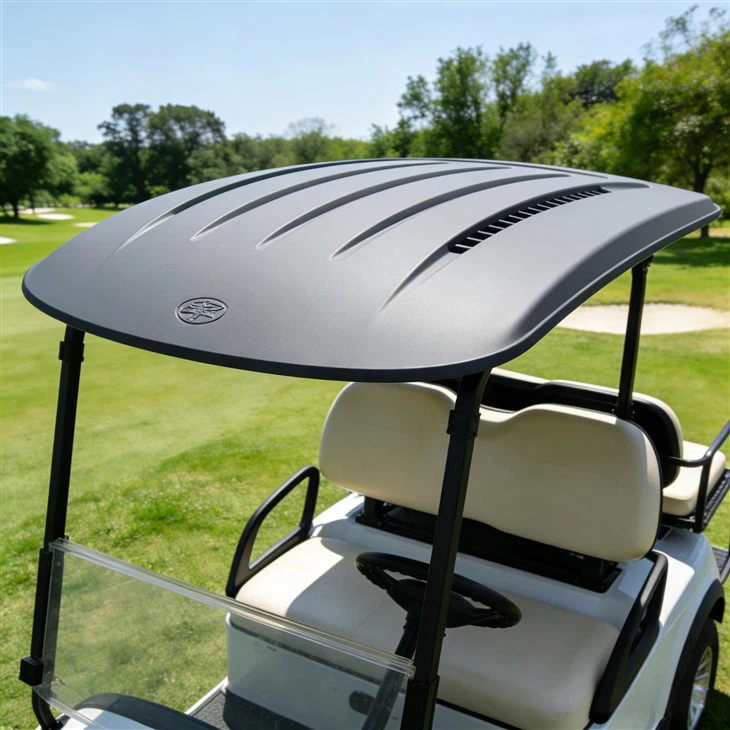
While you're working on your car's external parts, you might also be interested in other upgrades. For example, a Golf Cart Roof Panel can provide protection from the sun and rain for your golf cart. If you need extra storage space for your car, a Car Roof Box is a great solution. And for golf cart enthusiasts, Golf Cart Tops can enhance the look and functionality of your cart.
Conclusion
Replacing a car's side marker lights is a relatively simple task that can be completed in a short amount of time with the right tools and parts. By following these steps, you can ensure that your vehicle is safe and compliant with traffic regulations. As a Car Parts External supplier, we are committed to providing you with the highest - quality parts for all your automotive needs.
If you're interested in purchasing side marker lights or any other car external parts, please don't hesitate to contact us for a purchase negotiation. We have a team of experts ready to assist you in finding the perfect parts for your vehicle.
References
- "Automotive Lighting Systems: A Comprehensive Guide" by John Smith
- Vehicle owner's manuals for various makes and models