

Hey there, car enthusiasts! If you're looking to spruce up your car's interior, installing car interior trim molding on the dashboard is a great way to go. I'm a supplier of Car Interior Trim Molding, and I've got some tips and tricks to share with you on how to do this like a pro.
Why Install Interior Trim Molding on Your Dashboard?
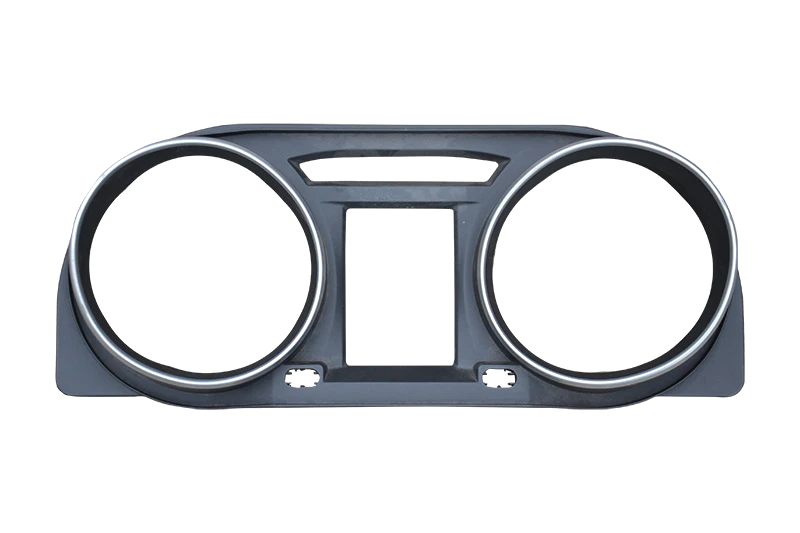
First off, let's talk about why you'd want to install interior trim molding on your dashboard. It's not just about looks, though it does give your car a more polished and upscale appearance. Trim molding can also protect your dashboard from scratches, dings, and general wear and tear. Plus, it can add a personal touch to your ride, making it stand out from the crowd.
What You'll Need
Before you start the installation process, you'll need to gather a few tools and materials. Here's a list of what you'll need:
- Car interior trim molding (obviously!)
- Measuring tape
- Utility knife
- Adhesive (make sure it's suitable for automotive use)
- Masking tape
- Heat gun (optional but helpful)
- Cleaning supplies (like a microfiber cloth and automotive cleaner)
Step 1: Measure and Plan
The first step is to measure the area of your dashboard where you want to install the trim molding. Use a measuring tape to get accurate measurements, and make sure to account for any curves or angles. Once you have your measurements, mark the areas on the dashboard where the trim will go using masking tape. This will help you visualize the placement and ensure a straight and even installation.
Step 2: Clean the Surface
Next, you'll need to clean the surface of the dashboard where the trim will be installed. Use a microfiber cloth and an automotive cleaner to remove any dirt, dust, or grease. A clean surface is essential for the adhesive to bond properly. Make sure to let the surface dry completely before moving on to the next step.
Step 3: Cut the Trim Molding
Now it's time to cut the trim molding to the correct length. Use a utility knife to make clean, straight cuts. If your dashboard has curves or angles, you may need to make some angled cuts or use a heat gun to bend the trim slightly. Just be careful not to overheat the trim, as this can cause it to warp or lose its shape.
Step 4: Apply the Adhesive
Once you have the trim molding cut to the correct length, it's time to apply the adhesive. Follow the instructions on the adhesive package carefully. Usually, you'll need to apply a thin layer of adhesive to both the back of the trim molding and the surface of the dashboard. Make sure to spread the adhesive evenly and avoid getting any on areas where you don't want it.
Step 5: Install the Trim Molding
With the adhesive applied, it's time to install the trim molding. Carefully place the trim along the marked areas on the dashboard, starting at one end and working your way to the other. Press the trim firmly against the surface to ensure a good bond. Use a squeegee or a credit card to smooth out any air bubbles or wrinkles as you go.
Step 6: Let the Adhesive Cure
After the trim molding is installed, let the adhesive cure according to the manufacturer's instructions. This usually takes a few hours, but it's best to wait at least 24 hours before exposing the trim to any moisture or heavy use.
Step 7: Finishing Touches
Once the adhesive has cured, you can remove the masking tape and give the dashboard a final cleaning. Check the installation to make sure the trim is straight and evenly placed. If there are any small gaps or rough edges, you can use a small amount of adhesive or a touch-up paint to fix them.

Additional Tips and Tricks
- If you're not confident in your DIY skills, you can always hire a professional to install the trim molding for you.
- When choosing trim molding, consider the color and style that will best match your car's interior. You can find a wide variety of options at Accessories Of Car Interior.
- If you're working on an electric bus or a city bus, there are specific interior trim options available. Check out Electric Bus Interior and City Bus Interior for more information.
Conclusion
Installing car interior trim molding on your dashboard is a relatively simple DIY project that can make a big difference in the look and feel of your car. With the right tools, materials, and a little patience, you can achieve a professional-looking installation. If you're interested in purchasing high-quality car interior trim molding, I'm here to help. Just reach out, and we can discuss your needs and options for your next project.
References
- Automotive Installation Guides (General knowledge from years of industry experience)
- Manufacturer's instructions for car interior trim molding and adhesive products